A website is just a text file. That's it. That's the secret nobody tells you upfront, probably because half the internet makes money convincing you that you need a page builder, a monthly subscription, and a three-month course before you're allowed to touch code. You don't. If you can type a sentence and save a file, you already have most of what it takes to create a website through HTML, and this guide takes you from a blank file to a real page that's live on the internet without spending a single rupee.
Here's the whole process in seven steps:
- Create a project folder on your computer.
- Open a free code editor like VS Code or Notepad.
- Write the basic HTML structure.
- Save the file as index.html.
- Open it in your browser to see your page.
- Add CSS to style it and make it responsive.
- Upload it to free hosting so anyone can visit it.
Most tutorials stop at step 5, and you end up with a page sitting in a folder that nobody else will ever see. I've never understood that. So this guide goes all the way to step 7, the part where your page actually goes on the internet.
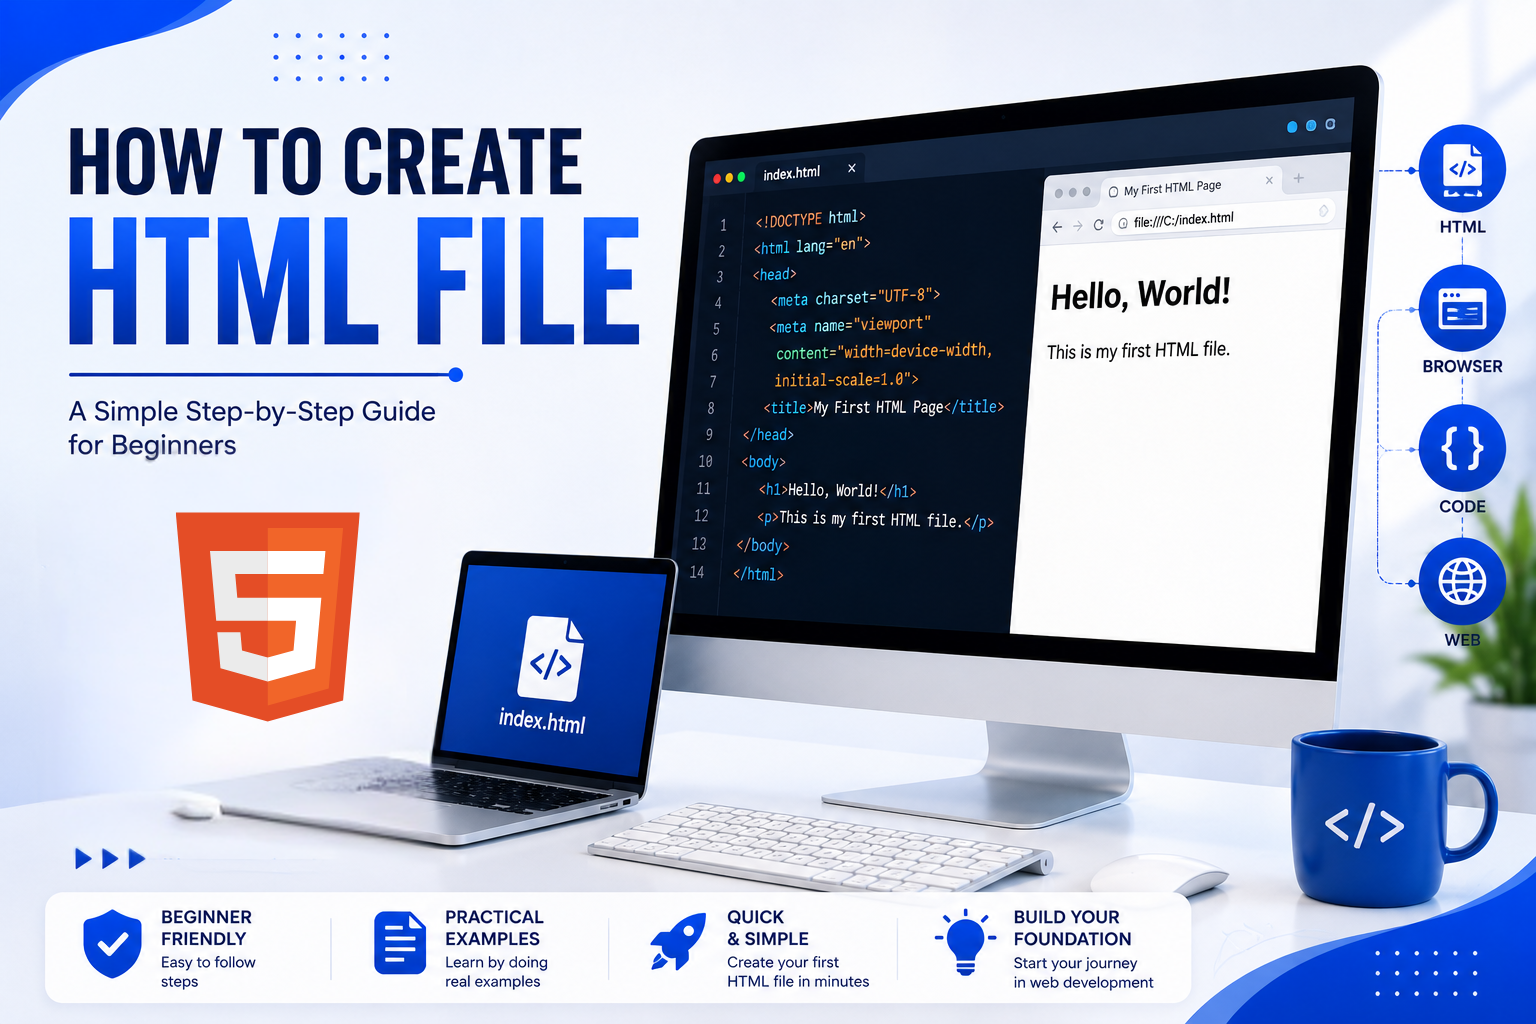
What HTML Actually Is (in Plain Words)
HTML stands for HyperText Markup Language, and the name scares people more than the thing itself. It isn't a programming language. There's no logic, no maths, no algorithms. HTML is a labelling system. You wrap labels, called tags, around your content so the browser knows what each piece is.
Wrap text in h1 tags and the browser shows a big heading. Wrap it in p tags and you get a paragraph. That's the entire idea. A tag opens, content sits inside, the tag closes. Something like ninety-five percent of your first website is that one pattern repeated.
Every site you've ever visited, from a college notice board to Amazon, sends HTML to your browser. The big sites pile CSS, JavaScript, and databases on top, but strip those away and HTML is the skeleton underneath. Learn the skeleton first. Everything else attaches to it.
What You Need Before You Start
Three things, and all of them are free.
A code editor. Notepad on Windows or TextEdit on Mac technically works, and my first two pages were written in plain Notepad because nobody told me better. Download Visual Studio Code instead. Free, runs on any laptop, colours your code so mistakes jump out, closes tags for you as you type. That last feature alone will save you an hour of hunting for one missing tag at 11 pm. Ask me how I know.
A browser. Chrome, Firefox, Edge, anything modern. You already have one, and it doubles as your testing tool.
Fifteen minutes for the first working page. That's an honest estimate, not marketing. The full site in this guide, styled and published, is an afternoon.
What you don't need: JavaScript, hosting money, a design degree, or any prior coding. If you've never written a line of code in your life, you're exactly who this guide is written for.
How to Create a Website Through HTML in 7 Steps
Step 1: Create a project folder
Make a folder on your desktop and name it my-website, all lowercase, hyphen instead of a space. Inside it, create a second folder called images.
I know, making folders feels like busywork. Do it anyway. Web servers are picky about file paths. When your HTML file and your pictures live in the same project folder, linking an image takes one short word instead of a long path like C:\Users\Desktop\stuff\photo.jpg, and nothing breaks when you upload the site to the internet later. Websites built with files scattered across Downloads and Desktop are the ones that fall apart on hosting day.
Lowercase names with hyphens aren't just a style preference either. Servers treat Photo.jpg and photo.jpg as two different files, so picking one convention now saves you from the most confusing category of beginner bug there is: the image that works on your laptop and vanishes online.
Step 2: Write the HTML skeleton
Open VS Code, create a new file, and type this out by hand instead of pasting it. Annoying advice, I know. But typing is how the tags stick in your head.
<!DOCTYPE html>
<html lang="en">
<head>
  <meta charset="UTF-8">
  <meta name="viewport" content="width=device-width, initial-scale=1.0">
  <title>My First Website</title>
</head>
<body>

</body>
</html>
Every line earns its place. The DOCTYPE declaration tells the browser to use modern HTML5 rules instead of falling back to quirks from twenty years ago. The html tag wraps the entire document, and lang="en" tells search engines and screen readers the page is in English. The head section holds information about the page. Nothing inside it appears on screen except the title, which shows in the browser tab and becomes your clickable headline on Google.
The charset line keeps symbols and non-English characters from turning into garbage. And pay attention to that viewport line. It's the single tag that decides whether your site adapts to phones or loads like a postage stamp you have to pinch and zoom. Plenty of tutorials bolt it on at the end as an afterthought. Add it now and you won't have to think about it again until step 6.
The body is where your visible page lives. Right now it's empty, which is why the next step exists.
Step 3: Add your content
Everything between the body tags is your actual website. Add a heading, a couple of paragraphs, a link, an image, and a list:
<body>
  <h1>Welcome to My Website</h1>
  <p>This is my first page, built with nothing but HTML.</p>
  <p>I'm learning web development one tag at a time.</p>
  <a href="https://www.google.com">This is a link</a>
  <img src="images/photo.jpg" alt="A photo of my desk">
  <h2>Things I want to build</h2>
  <ul>
    <li>A portfolio page</li>
    <li>A blog</li>
    <li>A small business site</li>
  </ul>
</body>
Six tags cover most of what beginner pages need, so it's worth knowing what each one does rather than copying blind.
Headings run from h1 down to h6. A page should have exactly one h1, the main title, with h2 for sections underneath. Google reads this hierarchy to understand your page, so treat it like the chapters of a book rather than a font-size picker.
The p tag holds a paragraph. The a tag creates a link, and its href attribute holds the destination address. The img tag places a picture: src says where the file lives, and alt describes the image in words. Alt text isn't decoration. Screen readers speak it aloud for blind visitors, and Google Images reads it to understand what the photo shows, so write it like you're describing the picture over the phone.
The ul tag makes a bulleted list, with each li as one item. Swap ul for ol and the bullets become numbers.
Look closely at the image path: images/photo.jpg. No C drive, no long trail of folders. That short relative path works because of the folder you built in step 1, and it'll keep working when the site goes online. Drop any photo into your images folder, rename it photo.jpg, and it appears on the page.
Step 4: Save the file as index.html and open it
This step breaks more beginner websites than every code error combined.
Save the file inside your my-website folder with the exact name index.html. Not index.txt, and not the sneaky one, index.html.txt. (Windows hides file extensions by default, which is exactly how that one sneaks past you.) VS Code saves it correctly without fuss. Notepad is where it goes wrong: unless you change "Save as type" to All Files, Windows quietly appends .txt to your filename, and when you open the result you'll see your raw code as plain text instead of a rendered page. If that ever happens, check the filename first. Not the code. The filename.
The name index isn't a suggestion either. When someone visits your domain, the web server automatically looks for a file called index.html and serves it as the homepage. Name your file homepage.html instead and visitors will land on an ugly file listing rather than your site.
Now double-click index.html. Your browser opens and there it is. Black text on white, one blue underlined link, no styling at all. Mine looked exactly this plain the first time too. From here on, everything follows the same loop: edit the file, save, refresh the browser, see what changed. You'll run that loop a few hundred times before the month is out.
Step 5: Style it with CSS
Here's where building a website using CSS and HTML together starts to pay off. HTML says what things are. CSS says how they look. Keeping them in separate files keeps both easy to change.
Create a new file in the same folder called style.css, then connect it by adding one line inside your head section, just below the title:
<link rel="stylesheet" href="style.css">
Now put this in style.css:
body {
  font-family: Arial, sans-serif;
  max-width: 700px;
  margin: 0 auto;
  padding: 20px;
  line-height: 1.6;
  color: #222;
}

h1 {
  color: #1a3c6e;
}

a {
  color: #0a66c2;
}

img {
  max-width: 100%;
  border-radius: 8px;
}
Save both files and refresh. The change is dramatic for how little you typed. The max-width and margin pair pulls your content into a readable centre column instead of letting text stretch across the whole monitor, which is honestly the one change that makes a page stop looking homemade. Line-height adds breathing room between lines. The img rule stops a 4000-pixel phone photo from bursting out of your layout, and the border-radius softens its corners.
CSS follows one pattern everywhere: pick a target, open curly braces, list property and value pairs. That's it. body targets the whole page, h1 targets every h1, and later you'll target your own named classes. Fifteen lines in, your page already looks cleaner than plenty of small-business sites that cost real money.
One habit worth forming today: change one thing, save, refresh, look. Beginners who change ten values at once can never tell which one broke the layout.
Changing colours and fonts (the part everyone actually wants)
Colours in CSS are hex codes: six characters after a hash. #ff0000 is red, #ffffff is white, #1a3c6e is the navy used on this page's headings. Don't memorise them. Search "colour picker" on Google, an interactive picker appears right in the results, slide to the shade you want, and copy the code into any color or background-color property.
Fonts work the same way. Arial is safe but everywhere. Visit fonts.google.com, pick something like Poppins or Inter, and Google gives you two things: a link tag for your head section and a font-family line for your CSS. Paste both, refresh, and your site stops looking like a default.
body {
  font-family: 'Poppins', Arial, sans-serif;
  background-color: #fafafa;
  color: #222222;
}
Step 6: Make it responsive
Most of your visitors will open your site on a phone, so a page that only looks right on a laptop is only half finished. The good news: because you added the viewport tag back in step 2, you're already most of the way there.
Add one media query to the bottom of style.css to fine-tune small screens:
@media (max-width: 600px) {
  body {
    padding: 12px;
  }
  h1 {
    font-size: 1.6rem;
  }
}
Read it like a sentence: when the screen is 600 pixels wide or less, apply these rules instead. Everything above the media query still applies; these lines only override the parts that need to shrink.
You don't need a drawer full of phones to test it. Press F12 in Chrome, click the small phone-and-tablet icon in the toolbar that appears, and drag the edge of the preview from wide to narrow while watching your layout the whole way down. Text still readable? Image staying inside its column? No sideways scroll? Then you've built a responsive website. Some paid templates still fail that drag test. Templates people actually paid for.
Two rules keep future pages responsive as they grow. Use relative units like percentages and rem instead of fixed pixel widths for layout, so elements stretch and shrink with the screen. And never give an element a hard width wider than a phone, because one 900-pixel box is all it takes to break mobile.
Step 7: Put your website online for free
Nearly every tutorial skips this step, and it's the one that turns your homework into a website.
The fastest free route is GitHub Pages:
- Create a free account at github.com.
- Make a new repository and name it yourusername.github.io, replacing yourusername with your actual GitHub username.
- Upload index.html, style.css, and your images folder into the repository.
- Wait a minute or two, then open yourusername.github.io in any browser.
That's a real, live website with a shareable address, hosted at no cost, no credit card involved. Send the link to a friend in another city and watch a file you typed at your desk open on their phone. Weird feeling, the first time. Good weird. Netlify offers a similar free plan where you drag your whole folder onto the page and it's live in seconds, if GitHub feels like too much ceremony for day one.
When you're ready for a proper address like yourname.com (clients trust it far more than a github.io link, we see this play out with businesses all the time), the paid route takes four steps:
- Buy a domain from any registrar. A .com or .in typically costs a few hundred to around a thousand rupees a year.
- Buy basic shared hosting. Entry plans in India start cheaper than a monthly mobile recharge.
- Open the host's cPanel, go to File Manager, and open the public_html folder.
- Upload index.html, style.css, and your images folder there. Your domain now shows your site.
Notice what didn't change: your files. The same three items run on free hosting, cheap shared hosting, or enterprise servers without a single edit. That portability is the quiet advantage of a pure HTML site, and it's exactly what template-locked builder sites give up.
Can You Create a Website Using Only HTML?
Yes, and it will open in every browser on earth. A plain HTML site loads fast because there's nothing heavy to load, rarely breaks because there's nothing to update, and can't be hacked through a vulnerable plugin because there are no plugins. Some developers deliberately keep their personal sites in pure HTML for exactly these reasons.
The honest trade-off: without CSS, your page looks like a document from 1995, readable but bare. And without JavaScript, nothing on the page can react when a visitor clicks, so no image sliders, no pop-ups, no live form validation.
For a resume page, a portfolio, an event page, or a one-page business site, HTML with the light layer of CSS from step 5 covers everything you actually need. You only reach for more when the site must do things: accept form submissions, handle logins, process payments, or manage hundreds of blog posts. Knowing where that line sits saves beginners months of learning tools they don't need yet.
HTML From Scratch vs Website Builders
Fair question at this point: why type code when Wix and WordPress exist?
Builders win on speed to something presentable. Drag boxes around for an hour and you'll have a decent-looking page without reading a single tag. For a wedding invite or a one-week event, that trade makes sense.
Hand-written HTML wins on everything underneath. Your files are yours; you can move hosts any time, while builder sites are locked to their platform. A plain HTML page is a fraction of the weight of a builder page, which means faster loading on cheap phones and slow connections, and speed feeds directly into how Google ranks you. There's no monthly fee once you're on free hosting. And when something looks wrong, you can open the file and see exactly why, instead of fighting a settings menu.
The real reason to learn it, though, is leverage. Every builder, every WordPress theme, every fancy framework outputs HTML and CSS underneath. Learn the layer they all sit on and no tool can confuse you again.
Five Mistakes That Break Beginner Pages
The file saved as index.html.txt. Covered in step 4 and worth repeating, because it causes more "my website won't open" panic than everything else on this list combined. If the browser shows raw code, check the filename before you touch the code.
Broken image paths. If the picture lives in your images folder, src must say images/photo.jpg with matching spelling, matching case, and the folder name included. Your laptop may forgive photo.JPG when the file is photo.jpg. The server won't. The first site I ever uploaded had three broken images for exactly this reason. I raised a support ticket with the hosting company at 1 am, typed an angrier follow-up at 2, and found the actual problem at 2:15: a capital P in Photo.jpg. I never replied to that ticket. Couldn't face it.
A missing closing tag. Forget one closing div or ul and half the page inherits styles it shouldn't, in ways that look random. Click any tag in VS Code and it highlights its partner. When a layout goes strange, hunt the unclosed tag before rewriting your CSS.
Skipping the viewport tag. The page looks fine on your laptop and microscopic on a phone, and beginners burn hours blaming their CSS. One line in the head fixes it. You added it in step 2, which is why your site never had this problem.
Editing the live copy instead of the local one. Keep the version on your computer as the master. Edit there, test in the browser, then upload. Changing files directly on a server with no local backup is how an afternoon of work vanishes with one bad save.
The Complete Code, Ready to Use
Every tutorial hands out code in fragments and leaves you to assemble the puzzle. Here's the entire finished website in two files. Type it or copy it, put both files in your my-website folder with an images folder beside them, and you have the exact site this guide builds.
index.html:
<!DOCTYPE html>
<html lang="en">
<head>
  <meta charset="UTF-8">
  <meta name="viewport" content="width=device-width, initial-scale=1.0">
  <title>My First Website</title>
  <link rel="stylesheet" href="style.css">
</head>
<body>
  <h1>Welcome to My Website</h1>
  <p>This is my first page, built with nothing but HTML.</p>
  <p>I'm learning web development one tag at a time.</p>
  <a href="https://www.google.com">This is a link</a>
  <img src="images/photo.jpg" alt="A photo of my desk">
  <h2>Things I want to build</h2>
  <ul>
    <li>A portfolio page</li>
    <li>A blog</li>
    <li>A small business site</li>
  </ul>
</body>
</html>
style.css:
body {
  font-family: Arial, sans-serif;
  max-width: 700px;
  margin: 0 auto;
  padding: 20px;
  line-height: 1.6;
  color: #222;
}

h1 {
  color: #1a3c6e;
}

a {
  color: #0a66c2;
}

img {
  max-width: 100%;
  border-radius: 8px;
}

@media (max-width: 600px) {
  body {
    padding: 12px;
  }
  h1 {
    font-size: 1.6rem;
  }
}
Two files, one images folder, and it runs. Open index.html locally to test, then upload all three items to GitHub Pages or your host and it's live. Break it on purpose, fix it, break it again. That loop teaches more than any video.
FAQs About Creating a Website Through HTML
How can I create a website using HTML for free?
Write your pages in a free editor like VS Code, then host them on GitHub Pages or Netlify. Both give you a live address at zero cost, with no credit card. The only thing that ever costs money is a custom domain like yourname.com, and even that is optional while you're learning.
Which is the best free editor for writing HTML?
Visual Studio Code. It's free, runs fine on a basic laptop, highlights your code in colour, and auto-closes tags. Notepad++ is a lighter option for old machines. Plain Notepad works in a pinch, but you lose the error highlighting that catches beginner mistakes early.
How long does it take to create a website with HTML?
Your first working page takes about fifteen minutes. A styled, responsive, published one-page site is an afternoon of honest work. A multi-page site with about and contact pages is a weekend. Anyone selling you a months-long course just to reach this point is selling the long way round.
Do I need to learn CSS along with HTML?
Yes, but not at the same time. HTML gives your page structure; CSS makes it presentable. Learn HTML first until you can build a page from memory, then add CSS. Trying to learn both in one sitting is why most beginners quit halfway.
Can I use a ready-made HTML template instead of coding from scratch?
You can, and free Bootstrap templates are one download away. The catch: if you skip straight to a template, you'll get stuck the first time you need to change anything beyond text and colours, because you never learned what the code underneath means. Build one small page from scratch first. After that, templates become a shortcut instead of a trap.
How do I get my HTML website on Google?
Once the site is live, Google finds it faster if you help. Give every page a clear title tag, one h1, and honest alt text on images. Then create a free Google Search Console account, verify your site, and submit your URL. Small sites usually start appearing in results within days to a few weeks.
Where to Go From Here
Build a second page first. Create about.html in the same folder, give it the same skeleton and stylesheet link, and connect the two pages:
<a href="about.html">About me</a>
The moment two pages link to each other, you've built a multi-page website, and the identical pattern scales to fifty pages the way it works for two. Add a contact.html with your email and you've matched the structure of most small-business sites in your city.
Then learn CSS properly. Flexbox first, for arranging things in rows and columns, then Grid for full page layouts. HTML took you an afternoon; CSS rewards a couple of focused weekends. Leave JavaScript until a page genuinely needs to react to clicks, because learning it before then is solving a problem you don't have.
Also learn the difference between a site that exists and a site that gets found. Filling your title tag, writing honest alt text, and keeping one h1 per page are the first moves of SEO, and you've already made all three in this guide without noticing.
One last honest note. A hobby page, a portfolio, a one-page site for your shop: build those yourself, the learning pays you back. A business site that has to rank on Google and turn visitors into paying enquiries is a different job, and I say that as someone who does this work daily. At GIT Infosys a fair share of our projects are rescues, sites where small design and SEO problems piled up quietly for a year before the owner noticed the phone had stopped ringing. If you get to that point, ask for help. Until then, enjoy the building. It's the fun part.
Either way, the starting point is the same one this guide began with. A folder, a blank file, fifteen minutes. That's it.